
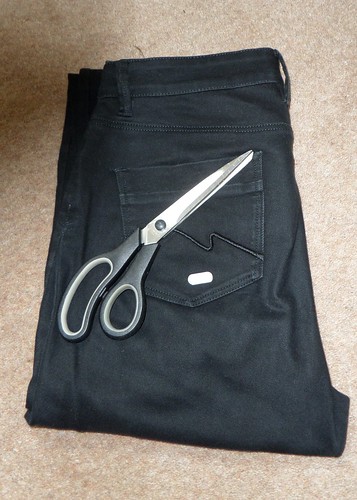
You will need:
A pair of jeansA pair of scissors
Chalk (or I guess you could use a pencil or pen if your jeans are paler - I obviously needed something that would show up on black so white chalk was perfect. Make sure whatever you use will wash out though - you don't want ink stains on your jeans)
Ready, set, DIY!
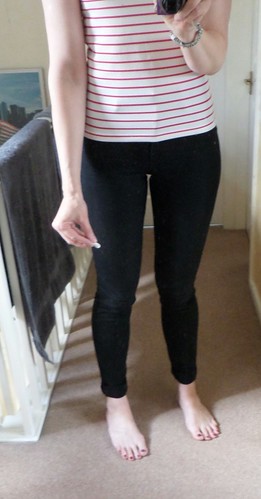
First of all, put on your jeans:
Grab your chalk (or whatever):
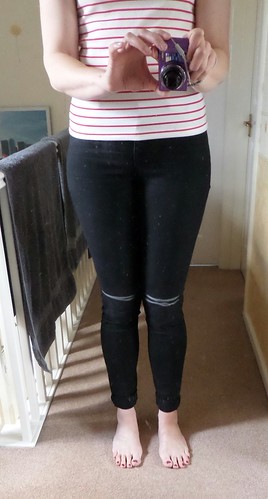
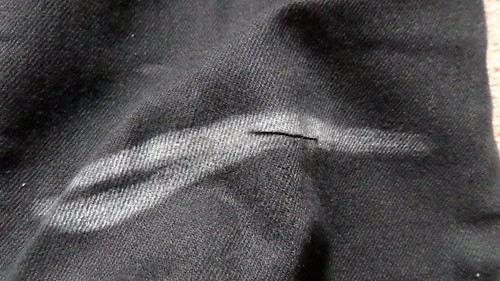
Mark on your jeans where you want the rips to be (my top tip is to put them just above your knee, that way the hole won't rip further or split where you don't want it to. Thanks go to Tiffany for that tip in her Nordstrom sale haul video!):
Take the jeans off an lay them out on the floor. Get chalk all over the legs:
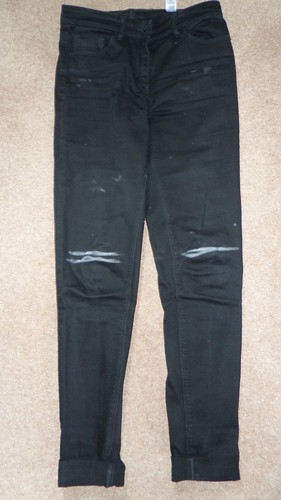
Make a small cut on the line you marked out:
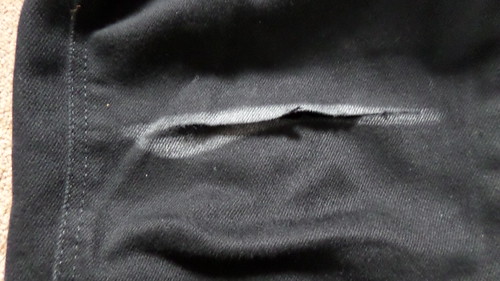
Cut across each side of the snip, but don't go too close to the side seams:
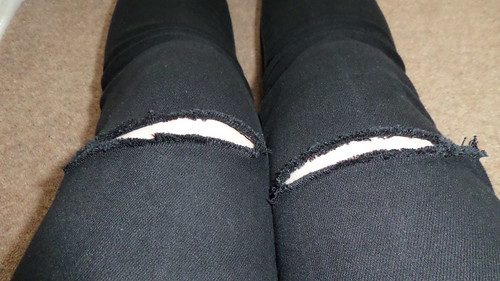
Put the jeans back on and voila! Ripped jeans!

Throw them in the wash to wash the chalk off and to get that soft, fraying around the rips and once they're dry, trim any loose threads that are hanging down. And that's it! Enjoy your ripped jeans!

Follow me on:
No comments:
Post a Comment